In the world of fasteners, efficiency is often as critical as strength. For contractors and builders, time saved on an installation translates directly to project profitability and productivity. This is where the nail screw, a clever hybrid fastener, carves out its niche. But how does this unique component actually perform across different base materials? Understanding the specific mechanics, strengths, and limitations of nail screws in wood, concrete, and masonry is crucial for ensuring a secure, reliable, and appropriate application. This guide, drawing on our expertise at RivetJL, will provide an in-depth analysis of their performance, helping you determine exactly when and how to use them for optimal results.

Table of Contents
- What Exactly Are Nail Screws? A Closer Look
- The Science of Performance: How Do Nail Screws Hold?
- Nail Screw Performance in Wood: When and Why?
- Nail Screw Performance in Concrete & Masonry: The Primary Application
- Step-by-Step Installation Guide for Optimal Performance
- Common Mistakes to Avoid When Using Nail Screws
- Choosing the Right Fastener: When Are Nail Screws NOT the Answer?
- Conclusion: The Verdict on Nail Screw Performance
What Exactly Are Nail Screws? A Closer Look
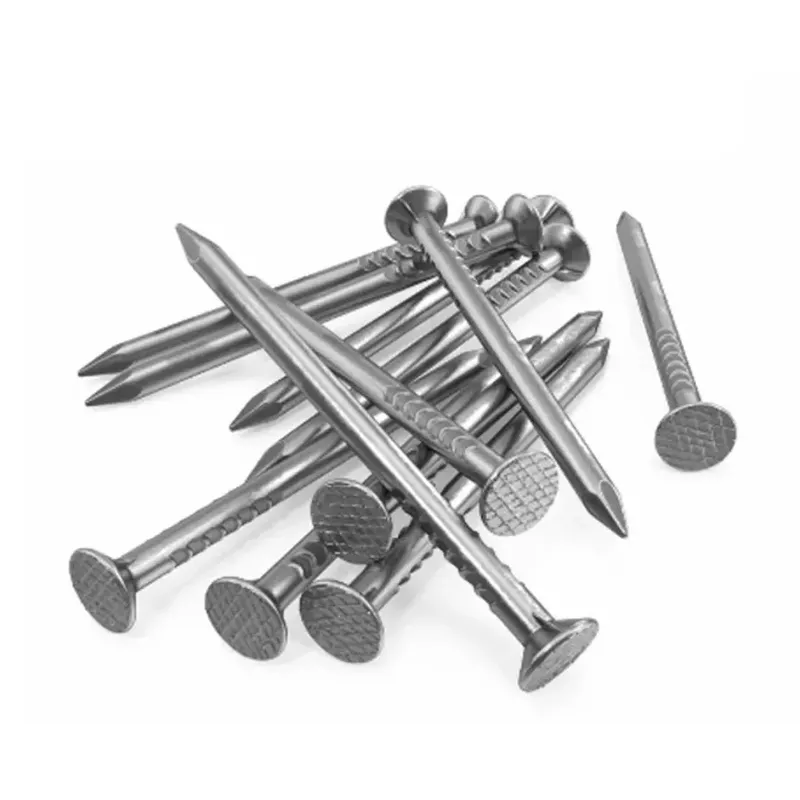
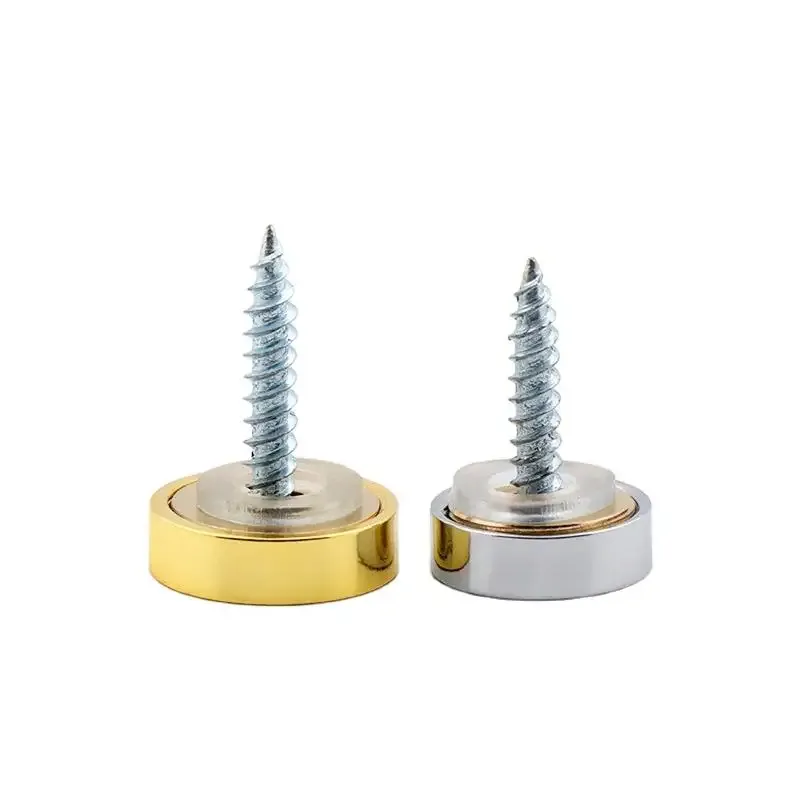
A nail screw, often referred to as a hammer-in screw, drive anchor, or hammer drive anchor, is a specialty fastener designed for rapid installation into hard, dense materials. Its design is a brilliant fusion of a nail and a screw. It features a sharp, nail-like point for easy starting and a very coarse, pronounced thread that spirals up a cylindrical shank. The head is typically a low-profile mushroom or flat head designed to sit flush against the secured material.
The core innovation lies in its installation method. Unlike a traditional screw that requires rotational force to drive it in, a nail screw is hammered into a pre-drilled pilot hole. The aggressive threads don’t cut into the material during installation; instead, they are forced into place. However, these same threads allow the fastener to be removed by a standard Phillips or flathead screwdriver, providing a level of serviceability that a simple nail or permanent anchor lacks. This dual-functionality—fast like a nail, removable like a screw—is its defining characteristic.
The Science of Performance: How Do Nail Screws Hold?
To truly understand where nail screws excel, we must first examine the physics of how they generate holding power, which differs significantly based on the substrate material.
In Concrete and Masonry: The Friction and Bite Mechanism
When a nail screw is hammered into a properly sized pilot hole in concrete, brick, or block, its holding power comes from a combination of two forces. First is compressive friction. The shank of the screw is slightly larger than the pilot hole, and as it’s driven in, it compresses the surrounding concrete, creating immense friction along its length. Second, and more importantly, the coarse threads are forced against the rough, unforgiving walls of the drilled hole. They don’t cut new threads but rather *bite* into the granular structure of the masonry, creating thousands of small locking points. This mechanism provides excellent resistance against pull-out (tensile) forces for light-duty loads.
In Wood: A Different Story of Grip and Limitation
In wood, the performance dynamic changes entirely. Wood is a fibrous, elastic material. When a nail screw is hammered into wood (even with a pilot hole), the threads don’t cut and clear material like a wood screw. Instead, they essentially crush and displace the wood fibers. While this does create some initial grip, it damages the very fibers that are supposed to provide holding power. A traditional wood screw, with its sharper threads and tapered design, cuts cleanly into the fibers, drawing them in and creating a much stronger, more integrated bond. Consequently, the withdrawal resistance of a nail screw in wood is significantly lower than that of a standard screw of a similar size.
Nail Screw Performance in Wood: When and Why?
Given the mechanics described above, using nail screws in wood is a nuanced decision. They are rarely the primary choice for structural or load-bearing wood-to-wood connections.
Strengths: Unbeatable Speed for Light-Duty Tasks
The primary advantage of using a nail screw in wood is speed. For tasks where you need to quickly tack something in place, they can be a time-saver. Examples include temporarily holding a piece of trim while adhesive sets, quickly attaching backing strips inside a cabinet, or other non-structural assembly tasks where the fastener is primarily preventing lateral movement rather than resisting a pull-out force. Their removability is also an asset in these temporary applications.
Weaknesses: Lower Holding Power and Splitting Risk
The main drawback is their poor withdrawal resistance. A connection made with a nail screw in wood is much more likely to pull out under load than one made with a proper wood screw. The blunt force of hammering them in also increases the risk of splitting the wood, especially when working near the edge of a board or with delicate wood species. For any application that requires a strong, lasting bond—like hanging shelves, building furniture, or structural framing—a standard wood screw is unequivocally the superior choice.
Nail Screw Performance in Concrete & Masonry: The Primary Application
This is where nail screws truly shine and demonstrate their value. They are purpose-built for light-duty fastening to concrete, block, brick, and other masonry materials.
Unmatched Speed for Light-Duty Applications
For repetitive tasks, the installation speed of nail screws is a game-changer. Consider the process of attaching dozens of electrical conduit clamps or securing wood furring strips to a long concrete wall. The process is simple: drill, move, hammer; drill, move, hammer. This is significantly faster than driving a concrete screw or setting a wedge anchor for each point. For applications like basement finishing, commercial electrical work, and installing lightweight fixtures, this efficiency adds up to substantial labor savings.
Comparing Holding Power: Nail Screws vs. Other Masonry Anchors
It’s crucial to understand that “light-duty” is the operative term. Nail screws are not intended for heavy loads. How do they stack up against other common masonry fasteners? The following table provides a clear comparison:
| Fastener Type | Load Capacity | Installation Speed | Removable? | Ideal Use Case |
|---|---|---|---|---|
| Nail Screw / Drive Anchor | Low | Very High | Yes | Furring strips, electrical boxes, conduit clamps, lightweight signage. |
| Concrete Screw (e.g., Tapcon®) | Medium | High | Yes | Window frames, shelving brackets, railings, larger fixtures. |
| Sleeve Anchor | Medium to High | Medium | Yes (but can be difficult) | Door frames, machinery, heavier brackets in block or brick. |
| Wedge Anchor | Very High | Medium | No (Permanent) | Structural steel, heavy machinery, racking, code-compliant structural anchoring. |
Key Factors Influencing Performance in Masonry
The performance of a nail screw in concrete isn’t absolute. It depends heavily on several factors. The base material’s quality is paramount; a nail screw will hold better in dense, high-PSI concrete than in soft, crumbly mortar or lightweight CMU block. The quality of the pilot hole is also critical. A hole that is too large will provide almost no grip, while a hole that is too small will make the screw impossible to drive and may cause spalling or cracking around the hole.
Step-by-Step Installation Guide for Optimal Performance
Following the correct procedure is essential to achieving the rated holding power of a nail screw. Rushing these steps can lead to a failed connection.
Step 1: Selecting the Right Nail Screw
Choose a nail screw that is long enough to pass through the object you’re fastening and embed into the masonry to the required depth. Common embedment depths range from 3/4″ to 1-1/4″. Check the manufacturer’s specifications for the specific anchor you are using.
Step 2: Drilling the Perfect Pilot Hole
This is the most critical step. Use a carbide-tipped masonry drill bit and a hammer drill. The drill bit diameter must match the specified diameter for the nail screw (e.g., a 1/4″ nail screw typically requires a 1/4″ hole). Drill the hole to a depth that is at least 1/4″ deeper than the anchor’s embedment depth to ensure there is room for dust and debris.
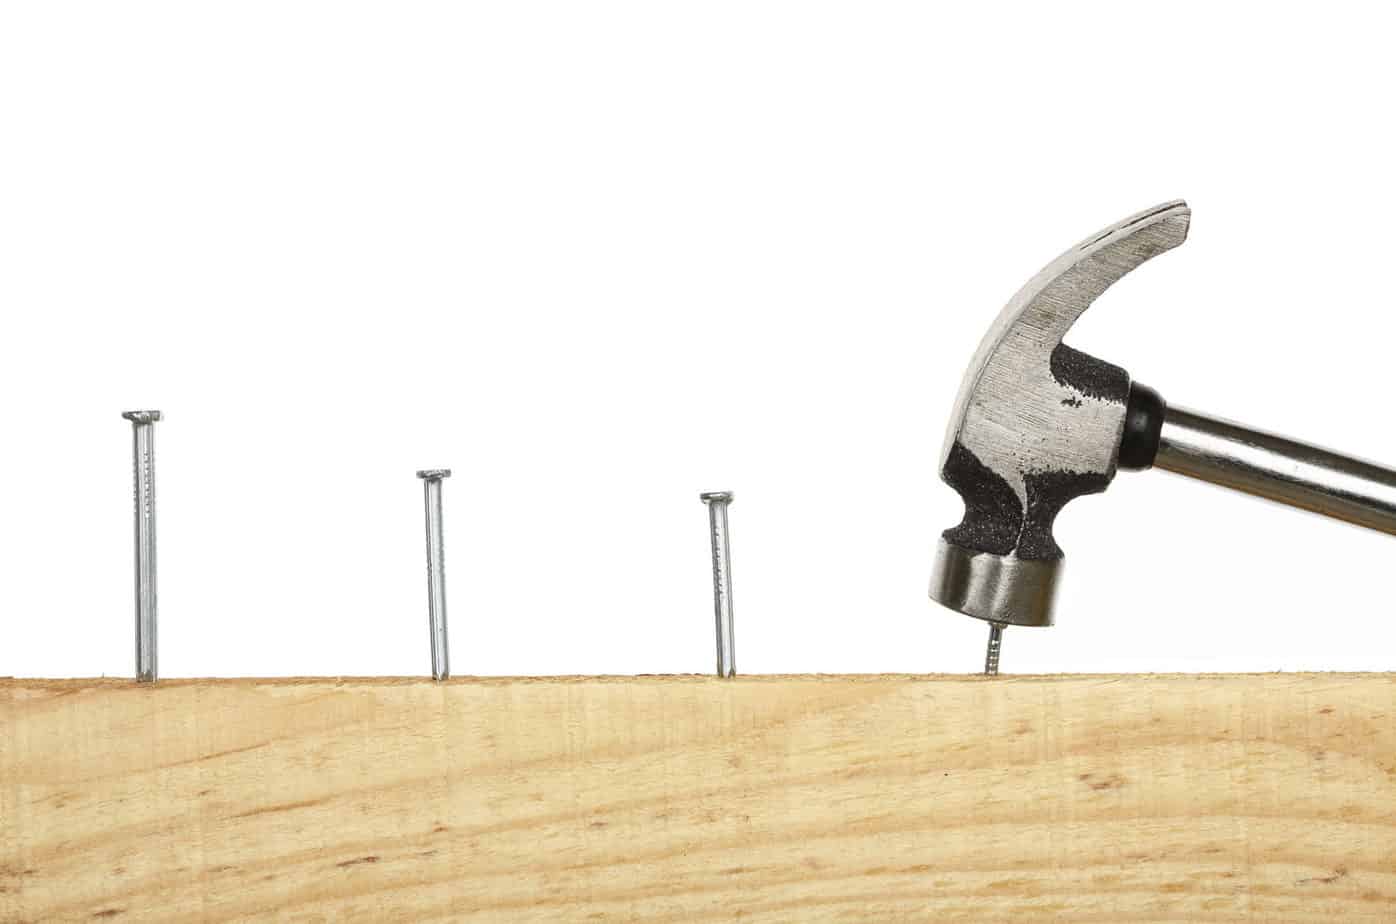
Step 3: Mastering the Hammering Technique
Clean the dust from the hole using a brush, compressed air, or a vacuum. This ensures the threads make solid contact with the concrete. Insert the nail screw through your fixture and into the hole. Use a hammer to drive the screw in with firm, confident strikes until the head is seated snugly against the material being fastened. Do not over-drive, as this can damage the head or the surrounding concrete.
Step 4: The Simple Removal Process
To remove the fastener, simply use the appropriate screwdriver (Phillips or flathead) and back it out, just like a regular screw. The threads will engage the material and allow it to be uninstalled.
Common Mistakes to Avoid When Using Nail Screws
Even with a simple fastener, errors can compromise safety and performance. Be sure to avoid these common pitfalls:
- Using the wrong size drill bit: A hole that’s too big is the number one cause of failure. Always match the bit size to the anchor diameter.
- Not cleaning the hole: Debris at the bottom of the hole can prevent the anchor from being fully seated and can reduce its holding power.
- Using them for overhead applications: Due to their lower tensile strength, nail screws are generally not recommended for securing items overhead where failure could lead to injury.
- Expecting them to carry heavy loads: They are light-duty anchors. Using them for railings, grab bars, or heavy shelving is an unsafe misapplication.
- Installing too close to an edge: Driving any anchor too close to the edge of a concrete slab can cause the edge to break off (spalling). Follow manufacturer guidelines for edge spacing.
Choosing the Right Fastener: When Are Nail Screws NOT the Answer?
Knowing when *not* to use a nail screw is just as important as knowing when to use one. For the sake of safety and structural integrity, always choose a different fastener in the following scenarios:
- For Heavy Structural Loads: Any application that involves structural support, such as attaching ledgers, support posts, or heavy-duty racking, requires a high-capacity anchor like a wedge anchor or an adhesive anchor.
- In Soft or Brittle Materials: Materials like drywall or very old, crumbly brick will not provide sufficient base material for the threads to grip. A toggle bolt or sleeve anchor would be more appropriate.
- When Significant Vibration is a Factor: In applications involving machinery or heavy vibration, the friction-based grip of a nail screw can loosen over time. A concrete screw or a vibration-resistant anchor is a better choice.
Conclusion: The Verdict on Nail Screw Performance
Nail screws are a highly effective and specialized tool, not a one-size-fits-all solution. Their performance is outstanding in concrete and masonry for a wide range of light-duty, non-structural applications where installation speed is a top priority. They provide a secure, removable fastening that dramatically improves productivity on the job site. In contrast, their performance in wood is limited; they lack the holding power of traditional wood screws and should be reserved for temporary or very light tacking applications.
By understanding the unique mechanics of how they hold and respecting their load limitations, you can leverage the incredible efficiency of nail screws safely and effectively. At RivetJL, we believe that providing the right fastener for every job is the key to quality construction and manufacturing. Choosing wisely ensures that every connection is as strong, reliable, and efficient as it needs to be.